Weather App Tutorial: Build with HTML, CSS and JavaScript
Learn how to create a Weather App with feature comparison using HTML, CSS, and JavaScript. Step-by-step guide for beginners.
This comprehensive Weather App tutorial teaches you how to build a real-time weather application using HTML, CSS, and JavaScript with the OpenWeatherMap API. Learn to fetch live weather data, display temperature in Celsius, show humidity percentages, and present wind speed information for any city worldwide. This beginner-friendly guide covers responsive design, asynchronous JavaScript with fetch API, error handling for invalid cities, and dynamic UI updates based on weather conditions. Perfect for developers learning API integration and modern web development techniques.
Table of Contents
Prerequisites
- HTML
- CSS
- JavaScript
- OpenWeatherMap API
Implementation Details
This section breaks down how the Weather App was built. It covers the core front-end technologies HTML, CSS, and modern JavaScript used to create the user interface and handle asynchronous API calls to retrieve real-time weather information.
HTML Code (index.html)
<!DOCTYPE html>
<html lang="en">
<head>
    <meta charset="UTF-8">
    <meta name="viewport" content="width=device-width, initial-scale=1.0">
    <title></title>
    <link rel="stylesheet" href="style.css">
</head>
<body>
    <div class="card">
        <div class="search">
            <input type="text" placeholder="Enter city name" spellcheck="false">
            <button><img src="images/search1.png" alt="search icon"></button>
        </div>
        <div class="error">
            <p></p>
        </div>
        <div class="weather">
            <img src="" alt="" class="weather-icon">
            <h1 class="temp"></h1>
            <h2 class="city"></h2>
            <div class="details">
                <div class="col">
                    <img src="images/humidity.png" alt="humidity" class="humidity-icon">
                    <div>
                        <p class="humidity"></p>
                        <p></p>
                    </div>
                </div>
                <div class="col">
                    <img src="images/wind.png" alt="wind speed" class="wind-icon">
                    <div>
                        <p class="wind"></p>
                        <p></p>
                    </div>
                </div>
            </div>
        </div>
    </div>
    <script src="script.js"></script>
</body>
</html>
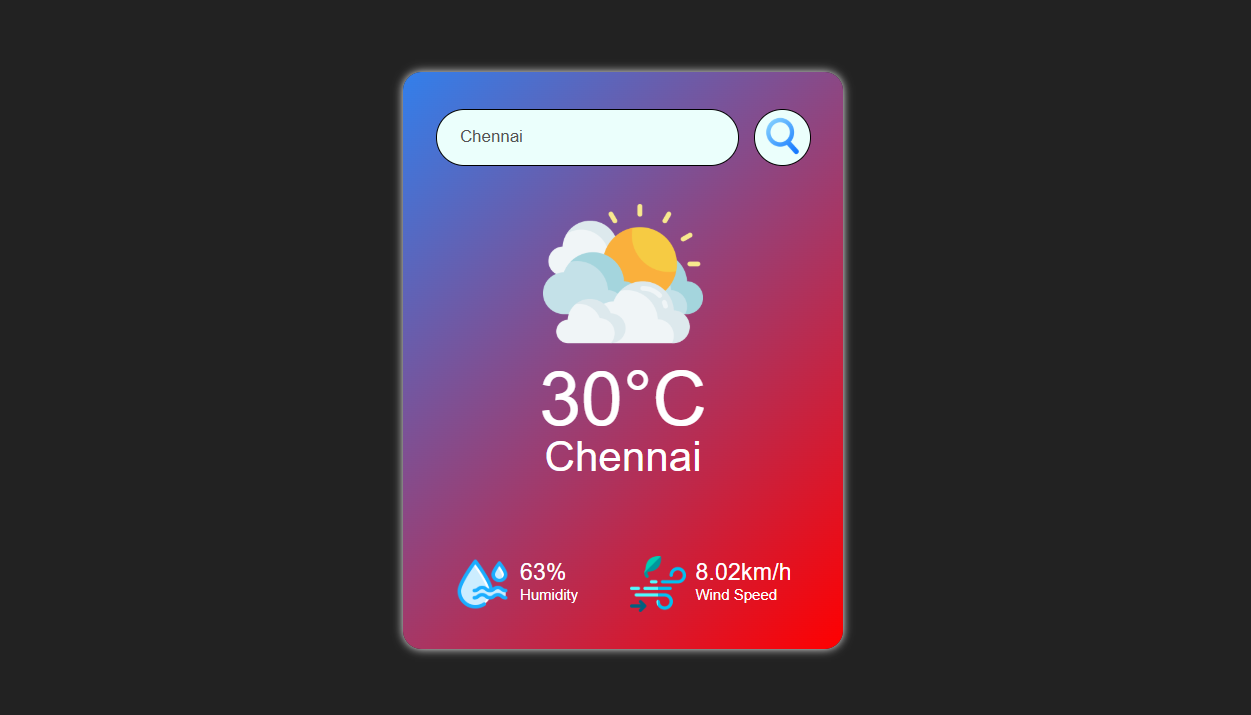
The index.html file for your Weather App is the structural blueprint of the application. It lays out all the visual components you see on the screen, including the main weather card, the city search bar, areas for displaying temperature, city name, weather icons, and detailed metrics like humidity and wind speed. It essentially organizes the content, setting the stage for CSS to style it and JavaScript to make it interactive.
CSS Code (style.css)
* {
    margin: 0;
    padding: 0;
    font-family: 'Poppins', sans-serif;
    box-sizing: border-box;
}

body {
    background: #222222;
}

.card {
    width: 90%;
    max-width: 470px;
    background: linear-gradient(135deg, rgb(50, 127, 235), rgb(255, 0, 0));
    color: #ffffff;
    margin: 100px auto 0;
    border-radius: 20px;
    padding: 40px 35px;
    text-align: center;
    box-shadow: 0 0 10px whitesmoke;
}

.search {
    width: 100%;
    display: flex;
    align-items: center;
    justify-content: space-between;
}

.search input {
    border: 0;
    outline: 0;
    background: #ebfffc;
    color: #555;
    padding: 10px 25px;
    height: 60px;
    border-radius: 30px;
    border: 1px solid black;
    flex: 1;
    margin-right: 16px;
    font-size: 18px;
}

.search button {
    border: 1px solid black;
    outline: 0;
    background: #ebfffc;
    border-radius: 50%;
    width: 60px;
    height: 60px;
    cursor: pointer;
}

.search button img {
    width: 40px;
}

.weather-icon {
    width: 170px;
    margin-top: 30px;
    cursor: pointer;
    transition: transform 0.3s ease;
}

.weather-icon:hover, .col img:hover {
    transform: scale(1.1);
}

.weather h1 {
    font-size: 80px;
    font-weight: 500;
}

.weather h2 {
    font-size: 45px;
    font-weight: 400;
    margin-top: -10px;
}

.details {
    display: flex;
    align-items: center;
    justify-content: space-between;
    padding: 0 20px;
    margin-top: 80px;
}

.col {
    display: flex;
    align-items: center;
    text-align: left;
}

.col img {
    width: 60px;
    margin-right: 10px;
    transition: transform 0.3s ease;
    cursor: pointer;
}

.humidity, .wind {
    font-size: 25px;
    margin-top: -6px;
}

.weather {
    display: none;
}

.error {
    text-align: left;
    margin-left: 10px;
    font-size: 14px;
    margin-top: 10px;
    color: red;
    display: none;
}
The style.css file for your Weather App is responsible for its entire visual appearance. It dictates the colors, fonts, sizes, and layout of all elements defined in the HTML. This includes setting the dark background, styling the main weather card with gradients and shadows, designing the search bar, sizing and animating icons, and controlling the initial visibility of the weather display and error messages. In essence, it transforms the app's basic structure into a polished and visually appealing interface.
JavaScript Code (script.js)
const apiKey = "Your_API_Key";
const apiUrl = "https://api.openweathermap.org/data/2.5/weather?units=metric&q=";

const searchBox = document.querySelector(".search input");
const searchBtn = document.querySelector(".search button");
const weatherIcon = document.querySelector(".weather-icon");

async function checkWeather(city) {
  const response = await fetch(apiUrl + city + `&appid=${apiKey}`);

  if (response.status == 404) {
    document.querySelector(".error").style.display = "block";
    document.querySelector(".weather").style.display = "none";
  } else {
    var data = await response.json();

    document.querySelector(".city").innerHTML = data.name;
    document.querySelector(".temp").innerHTML = Math.round(data.main.temp) + "°C";
    document.querySelector(".humidity").innerHTML = data.main.humidity + "%";
    document.querySelector(".wind").innerHTML = data.wind.speed + "km/h";

    const weatherConditions = ["Clouds", "Clear", "Rain", "Drizzle", "Mist", "Snow", "Thunderstorm", "Fog"];
    if (weatherConditions.includes(data.weather[0].main)) {
      weatherIcon.src = `images/${data.weather[0].main}.png`;
    } else {
      weatherIcon.src = "images/default.png";
    }

    document.querySelector(".weather").style.display = "block";
    document.querySelector(".error").style.display = "none";
  }
}

searchBtn.addEventListener("click", () => {
  checkWeather(searchBox.value);
});
The script.js file is the brain of your Weather App. It connects to an online weather service to fetch real-time data for any city you search for. It then dynamically updates the app's display with the temperature, city name, humidity, wind speed, and a corresponding weather icon. It also handles showing an error if a city isn't found.
Project Conclusion
This Weather App project successfully demonstrates the integration of HTML for structuring content, CSS for intuitive and responsive design, and JavaScript for dynamic data fetching and user interaction.
Key achievements include:
- Responsive design that adapts gracefully across various devices.
- Real-time weather data display through API integration.
- A modular structure (HTML for content, CSS for style, JS for logic) that ensures easy understanding and future enhancements.
This project provides a practical example of fetching and displaying external data using a public API, handling user input, and dynamically updating the web interface, making it a valuable learning resource for beginners in web development.
Other Projects
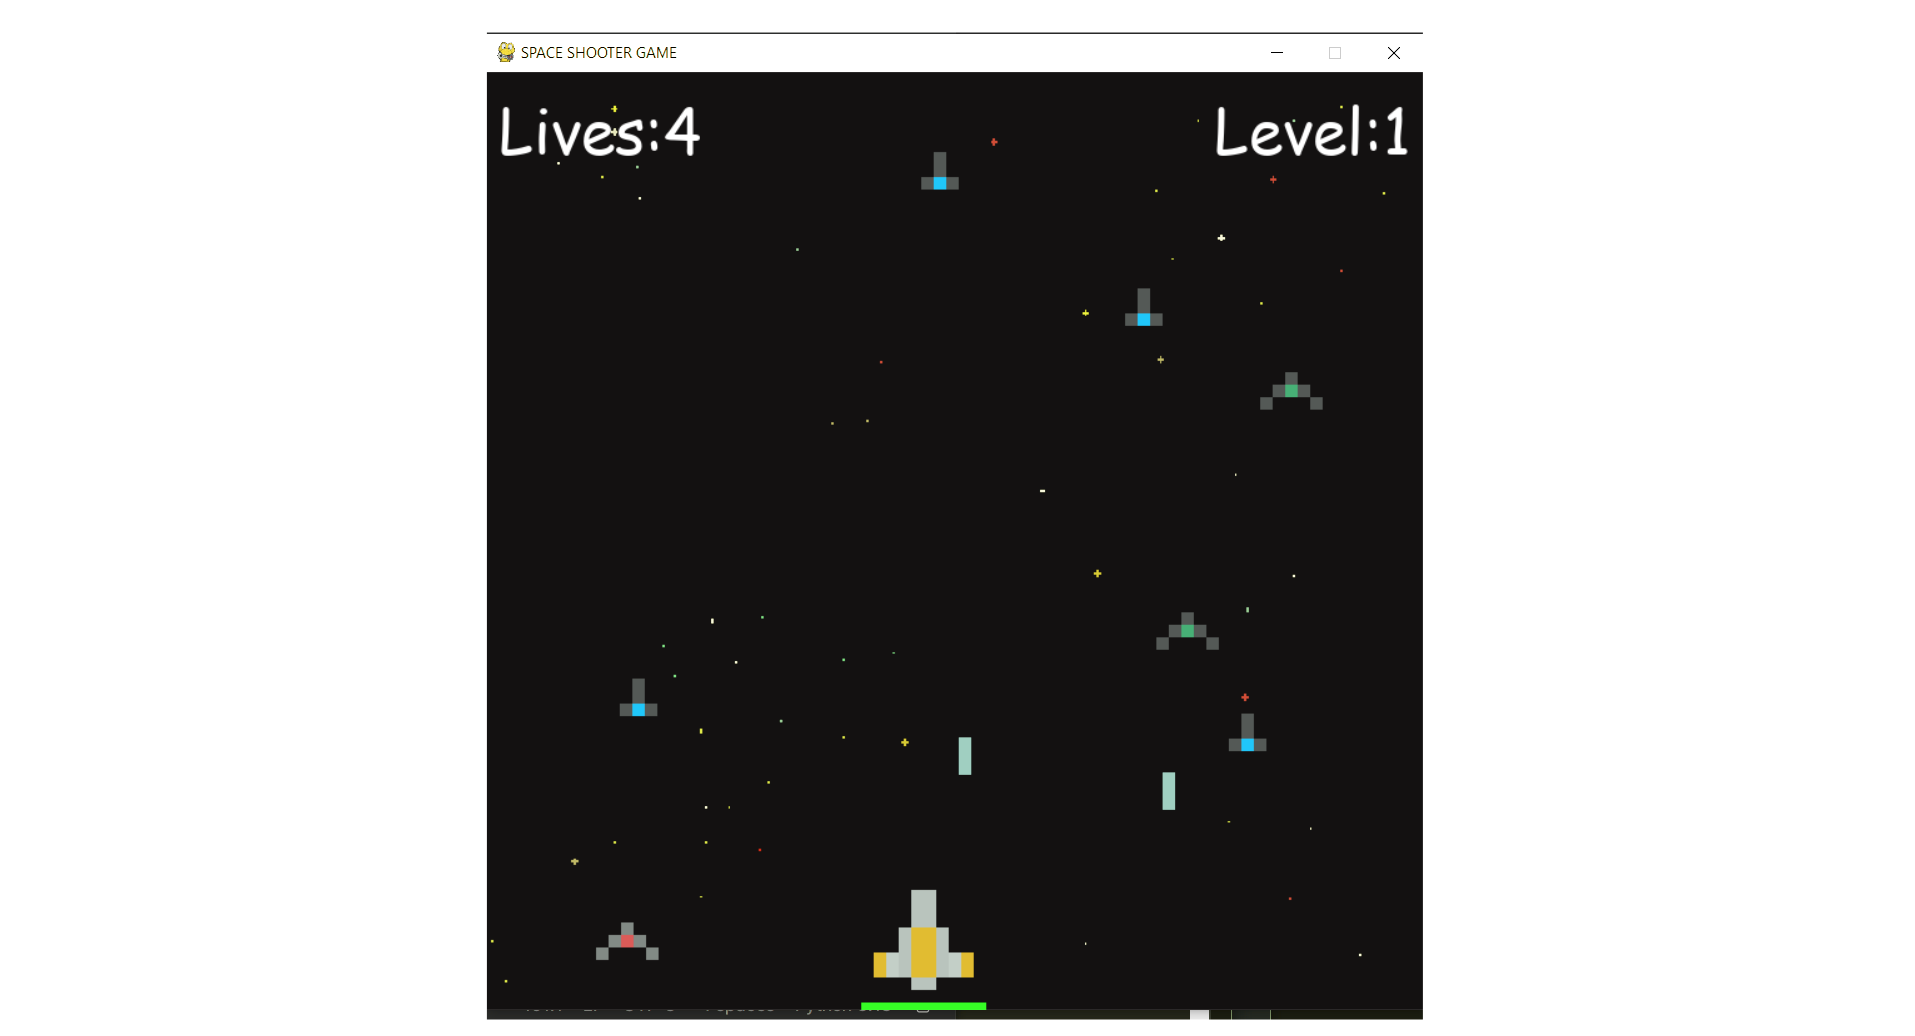
Shooter Game
This is a beginner-friendly guide for building a Space Shooter game with Python and Pygame, covering coding concepts and project structure.
View Project →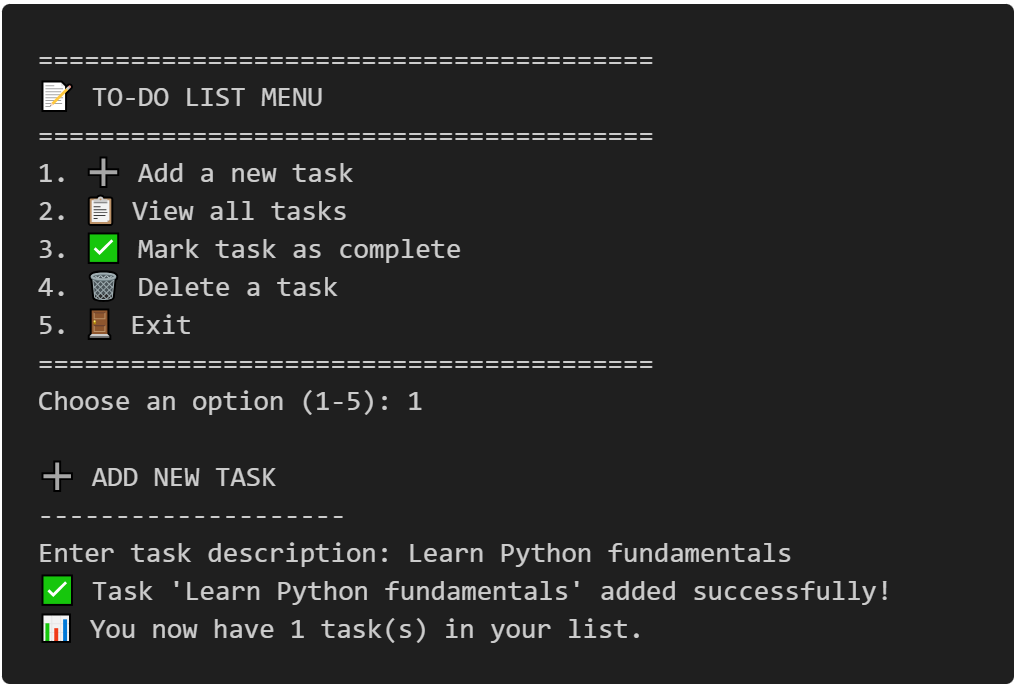
To-Do CLI App
Interactive command-line to-do list manager with Python, featuring list operations, persistent tasks, and practical coding exercises.
View Project →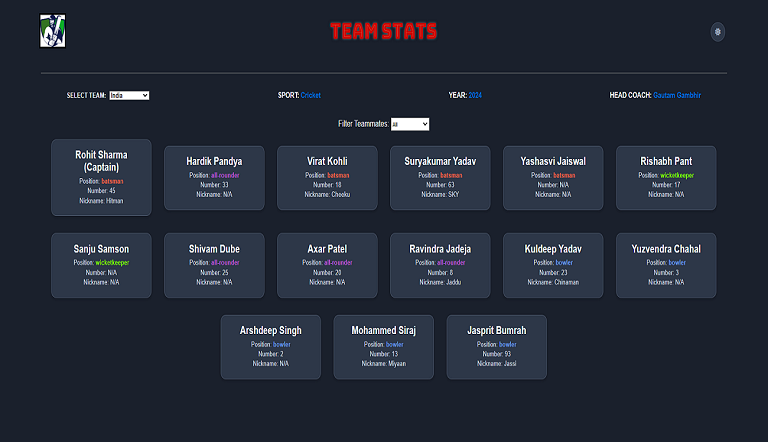
Team Card App
This Cricket Team Card App is an interactive web application built with HTML, CSS, and JavaScript that showcases detailed information about top international cricket teams.
View Project →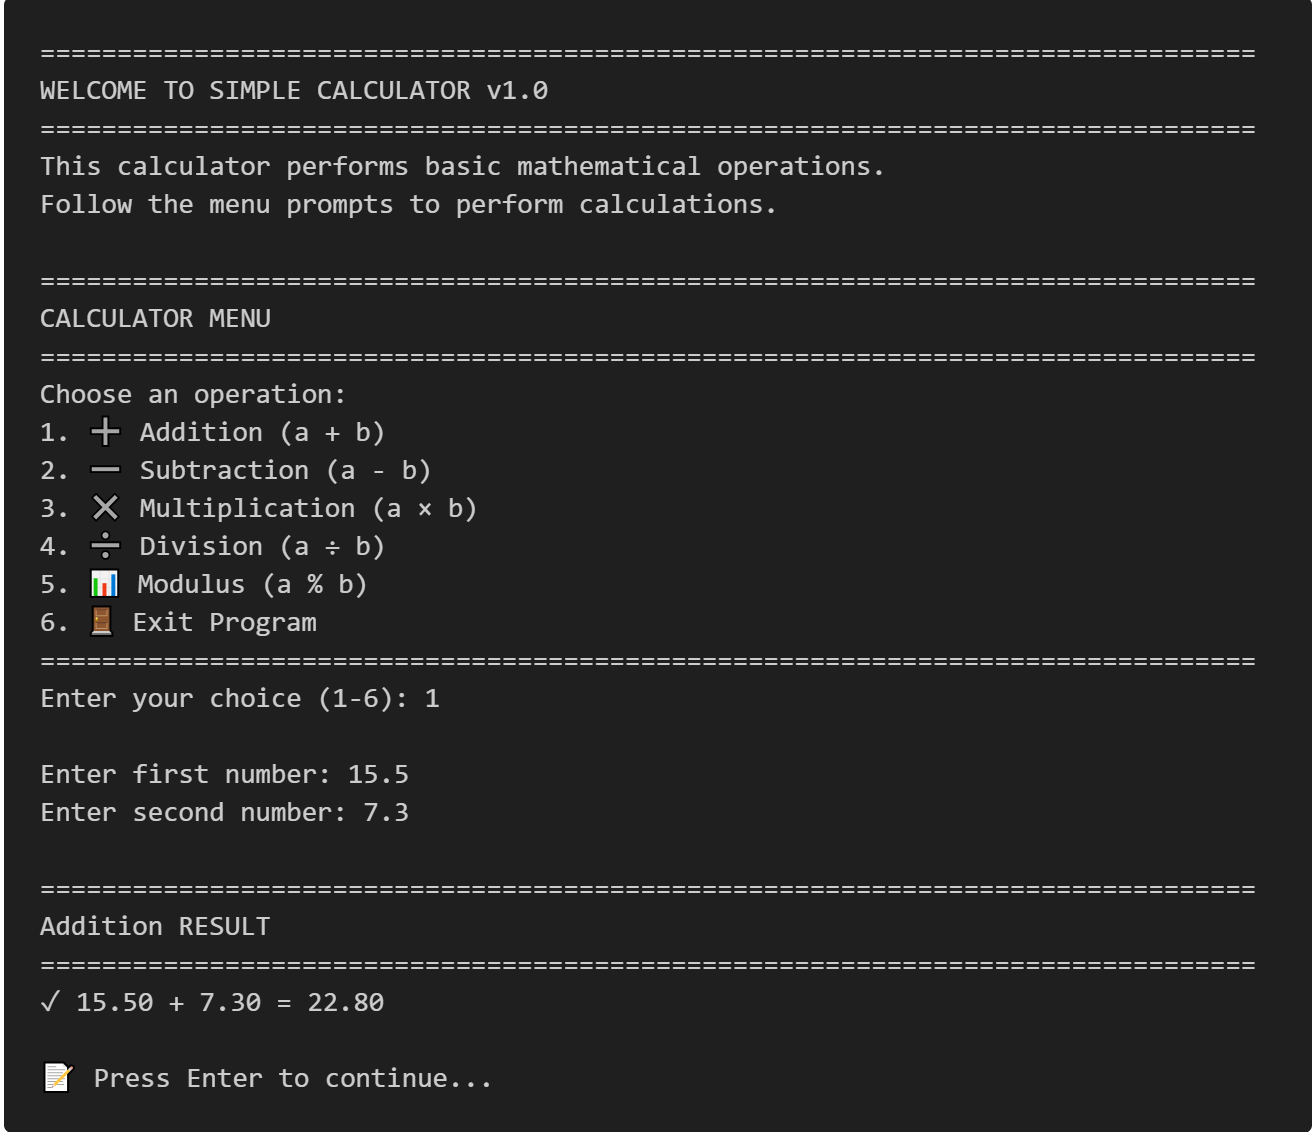
Simple Calculator in C
This comprehensive simple calculator in C tutorial teaches you how to build a fully functional menu-driven calculator with a command-line interface from scratch..
View Project →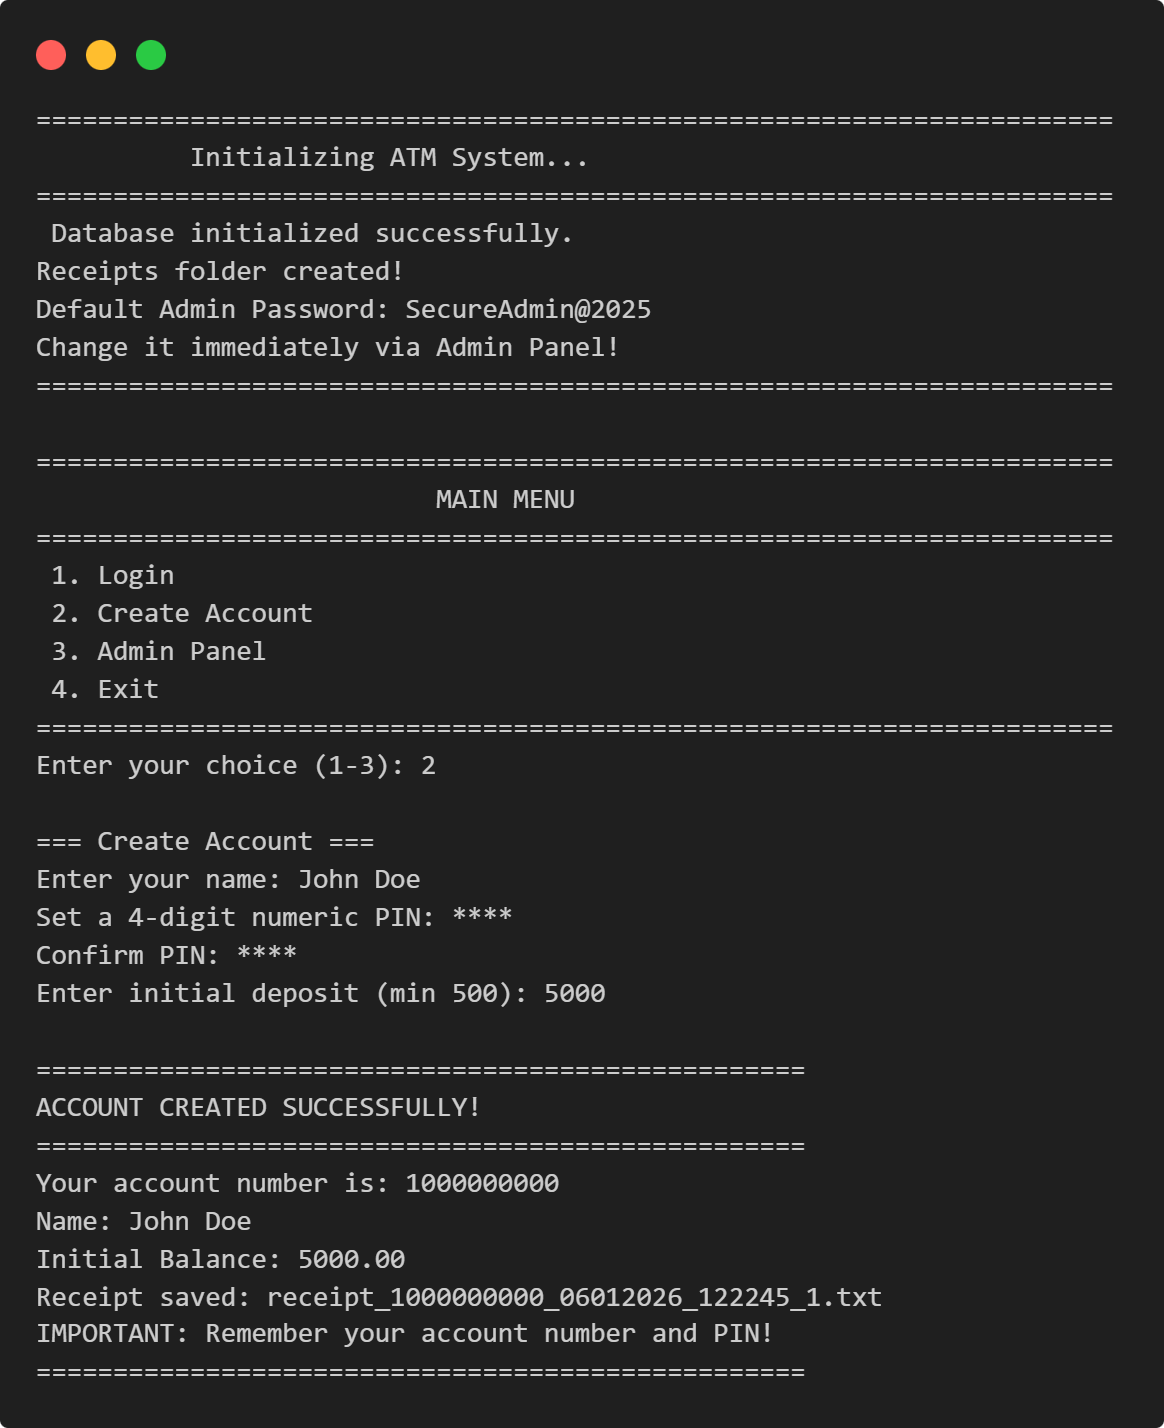
ATM Management System in Python
This Python application implements a multi-user ATM system with SQLite-backed persistence, featuring account management, financial transactions, and administrative controls.
View Project →
VPN Connectivity verification in C
Efficient C program to verify VPN status, routing, and DNS configurations through comprehensive public IP and network adapter analysis.
View Project →